Disaster Restoration Photos
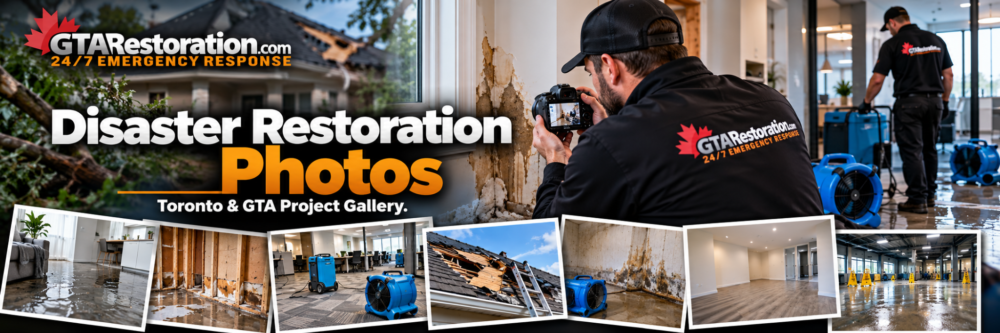
Disaster restoration photos help you compare visible damage, work in progress and later repairs. The branded graphics on this page give an overview of cleanup and drying. They can help you understand the work and prepare questions about your own home or business.
For more pictures, browse our full gallery. Then use the guide below to look at room views, damaged materials and each stage of work. A picture is useful context, but your property still needs its own checks.
Call Us: 416-800-0000
What to Look for in Cleanup Pictures
First, look at the whole room. Note where the damage starts and how far it spreads. Next, study close-ups of floors, walls, ceilings and items in the room. A small crop may leave out nearby damage.
Also, check whether the scene shows early cleanup, work in progress or finished repairs. Exposed wall framing or drying units may show a job that is still underway. Do not judge the full result from one stage.
Water Damage Restoration Images
Water-related project photos may show wet floors, removed trim, pumps, hoses or drying units. For example, air movers and dehumidifiers serve different roles. However, a photo cannot show how much moisture remains inside a wall or floor.
Ask which rooms were checked and how the crew tracked drying. Our help after leaks and floods explains the wider work, from water removal to moisture checks before repairs.
Fire and Smoke Damage Photos
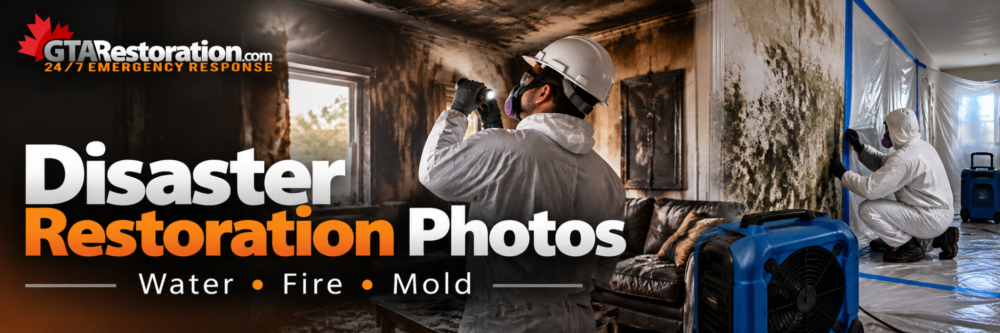
Fire scenes may show burned surfaces, dark residue and items awaiting review. Water used to put out a fire can also leave rooms wet. Therefore, cleaning, drying and repairs may all form part of the job.
For details, see our help after fire and smoke damage. When comparing pictures, ask what work took place between the shots, rather than relying on the look of the final room.
Mould and Sewage Cleanup Pictures
These restoration images may show protective clothing, plastic barriers and damaged walls. However, the setup must suit the actual risks at that site. A picture alone cannot tell you how to handle dirty water or remove affected materials.
Also, ask how the crew found and fixed the water source. Our guides to mould assessment and removal and help after sewage backups explain why safe access and a clear work plan matter.
Reading Project Photos From Start to Finish
Use disaster restoration photos to follow the change from damage to repairs. First, identify the stage shown. Then read the image alongside any dates, room labels and notes that explain the work.
Record the Starting Condition
Early photos can record visible damage before cleanup begins. A wide view shows the room, while a closer shot records a wet floor, damaged cabinet or ceiling stain. Also, keep a note of the date and room.
Take pictures only from a safe place. Never enter floodwater near wiring or electrical equipment to get a better shot. Follow the Electrical Safety Authority’s advice for flooded properties.
Follow Progress in Restoration Images
As work moves forward, pictures can record removed materials, cleaned surfaces and equipment placement. These views help explain what changed and which areas still need work.
However, the number of fans in a photo does not prove that a room is dry. Instead, ask about moisture readings and site checks. The IICRC’s water damage standard overview includes inspections, tools and project records as parts of the work.
Compare Before and After Views
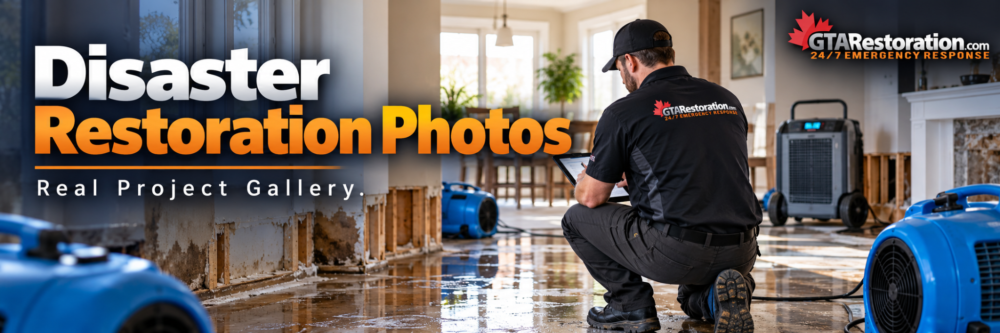
First, look for the same room from a similar angle. Then check what stage each shot shows. A clean, open wall is different from a room with new drywall, trim and paint.
Also, ask whether the later picture shows the full job or just one finished area. Matching views and clear notes make changes easier to understand. However, a polished room photo alone does not explain hidden repairs.
Keep Project Photos With Job Records
Save photos with work notes, moisture readings, quotes and bills. Together, these records give more detail than images alone. Our guide to recording damage can help you organize the file.
Finally, use disaster restoration photos to discuss your concerns with the crew. Ask what applies to your property and what needs further checks. If you are making a claim, also ask your insurer which records it needs.
Questions About Disaster Restoration Photos?
Call GTA Restoration to discuss visible damage, cleanup and repairs. Tell us which image relates to your concern and what has happened at your property.
Call Us: 416-800-0000
Learn More
Browse the Full Gallery | Record Damage Clearly | Help After Leaks and Floods




 Facebook
 Instagram
 LinkedIn
 X / Twitter
 YouTube