Understanding the mold remediation process helps property owners know what happens when professionals find significant mold growth inside a home or building. Effective remediation involves much more than spraying a product onto visible mold. The process identifies the moisture source, controls the work area, removes or cleans affected materials, manages dust and debris, verifies drying, and prepares the property for repairs.
Every project is different. The size of the affected area, type of materials, moisture conditions, accessibility, building use, and extent of hidden contamination all influence the exact scope.
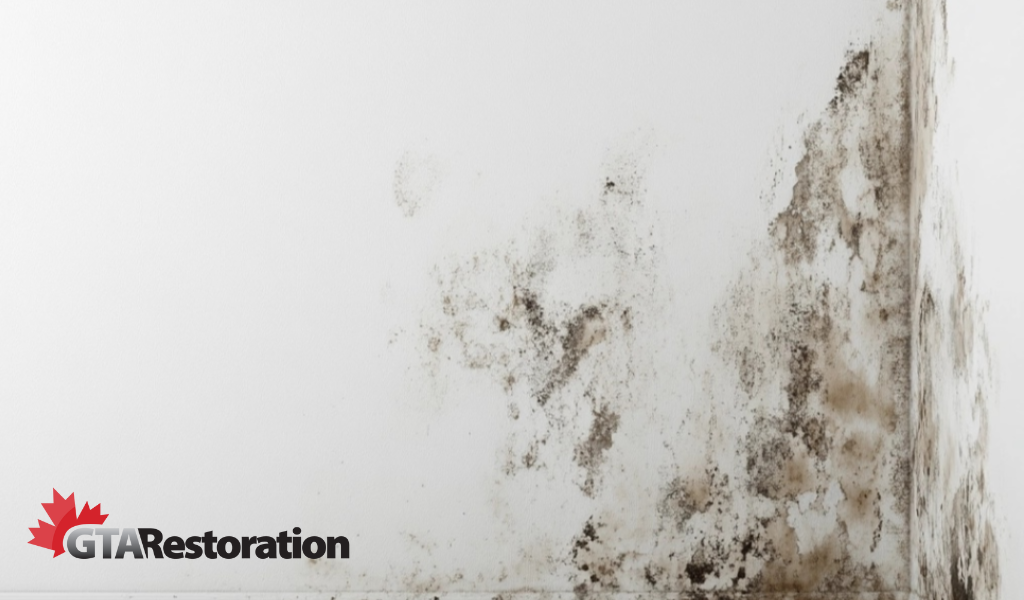
Mold Remediation Process: Key Takeaways
- Professionals first identify mold growth and the source of excess moisture.
- Containment can help separate affected areas from the rest of the building.
- HEPA-filtered equipment may help control airborne dust and particles during remediation.
- Some mold-affected porous materials require removal rather than surface cleaning.
- Technicians clean materials that can remain using methods appropriate to the surface.
- Wet materials must reach suitable drying goals before reconstruction begins.
- Antimicrobial products or coatings are not automatically required on every project.
- Post-remediation testing depends on the project and is not mandatory for every home.
- Fixing the underlying moisture source is essential because mold can return when damp conditions continue.
Understanding the Mold Remediation Process
Mold grows when suitable materials remain damp. Plumbing leaks, roof leaks, flooding, condensation, elevated humidity, and other moisture problems can create favourable conditions for growth.
A proper remediation project therefore addresses two connected issues: the existing mold contamination and the moisture condition that allowed it to develop.
What Is Mold?
Mold is a type of fungus found naturally indoors and outdoors. Mold reproduces through microscopic spores that can travel through the air and settle on surfaces.
Finding spores indoors does not automatically mean a building has a serious mold problem. Concern increases when moisture allows mold to actively grow on building materials or contents.
Signs That Mold May Need Professional Attention
Visible growth, recurring mold, persistent musty odours, previous water damage, and moisture inside walls or ceilings can justify further investigation.
Health Canada recommends professional assessment and cleanup for large areas of mold. A single patch larger than 3 m² falls into its large-area category.
Anyone experiencing persistent health symptoms should speak with a healthcare professional rather than assuming mold is the cause.
Mold Removal vs. the Mold Remediation Process
People often use “mold removal” and “mold remediation” interchangeably. However, remediation generally describes a broader process.
Removing visible material may form one part of the job. A complete mold remediation process also considers containment, moisture control, cleaning, material disposal, drying, verification, and repairs where necessary.
Why Removing Visible Mold Is Not Enough
Cleaning a visible patch without correcting the water source can allow mold to return. For example, a leaking pipe behind a wall may continue wetting drywall even after someone cleans the surface.
Therefore, professionals investigate why the area became damp before considering the problem resolved.
Initial Steps in the Mold Remediation Process
Good remediation begins with inspection and planning rather than immediately removing materials. The first steps help define the affected area and determine how technicians should control the work.
1. Assess the Mold & Moisture Conditions
Technicians inspect visible mold, staining, material damage, moisture conditions, and the history of water intrusion.
Moisture meters can help identify damp materials. Thermal imaging may also reveal temperature patterns that deserve closer investigation, although thermal cameras do not directly measure moisture.
Routine mold air sampling is not necessary for every project. Health Canada generally recommends focusing first on visible mold, moisture sources, and building conditions.
2. Identify & Correct the Moisture Source
The next step focuses on water. A plumber, roofer, waterproofing contractor, restoration technician, or another qualified trade may need to correct the source depending on the cause.
Possible sources include:
- Plumbing leaks
- Roof leaks
- Foundation seepage
- Flooding
- Condensation
- High indoor humidity
- Improper ventilation
- Water entering from neighbouring units or floors
Without moisture control, even thorough mold cleanup may only provide a temporary result.
3. Develop the Remediation Scope
Once technicians understand the conditions, they develop a work plan. The scope identifies areas requiring containment, materials requiring removal, surfaces that may remain, cleaning procedures, drying requirements, equipment needs, and possible reconstruction.
Large or complicated projects may also involve an independent environmental consultant.
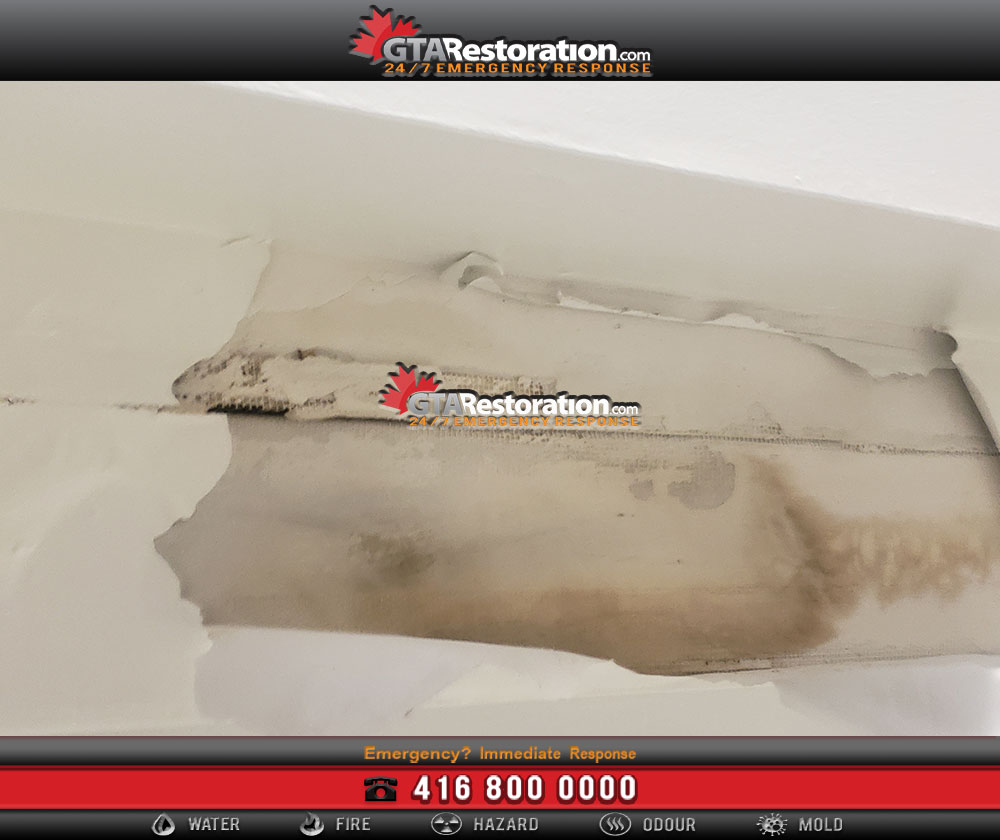
Mold Remediation Process Step by Step
The exact sequence varies by project, but the following stages explain how professional remediation commonly proceeds.
Step 1: Prepare & Contain the Work Area
Containment helps separate contaminated work areas from unaffected parts of the property. Depending on the scope, technicians may install polyethylene sheeting, controlled entry points, floor protection, and HEPA-filtered air equipment.
Negative air pressure may also form part of larger remediation projects when appropriate.
Step 2: Use Appropriate Personal Protective Equipment
Technicians select PPE according to the conditions and work being performed. Protective equipment may include respirators, gloves, eye protection, protective clothing, and footwear protection.
PPE protects workers during demolition, cleaning, HEPA vacuuming, and handling of contaminated materials.
Step 3: Control Dust During the Mold Remediation Process
Removing drywall, insulation, flooring, or other building materials can create dust. Technicians use controlled work practices to limit the movement of contaminated particles into clean areas.
HEPA-filtered air devices and HEPA vacuums can form part of this dust-control strategy. Work methods depend on the material and project conditions.
Step 4: Remove Materials That Cannot Be Properly Cleaned
Some porous materials become difficult to restore after significant mold contamination. Depending on their condition, technicians may remove drywall, insulation, carpet underlay, ceiling tiles, or other affected materials.
Crews carefully place removed materials into appropriate bags or containers before transporting them through clean areas.
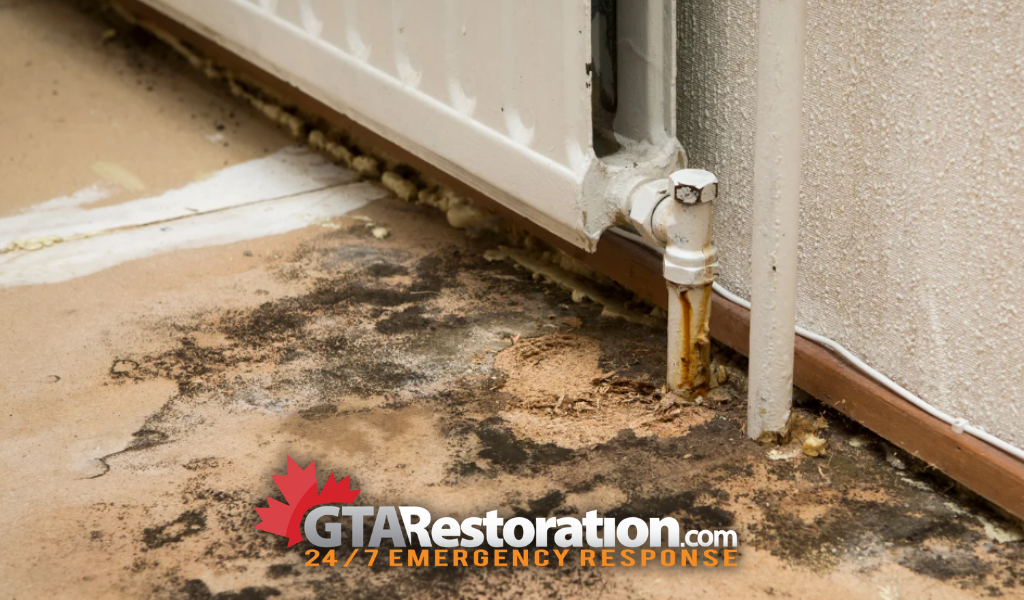
Step 5: Clean Remaining Surfaces
After removing materials that cannot remain, technicians clean the affected area. HEPA vacuuming and controlled surface cleaning commonly form part of this stage.
Health Canada recommends soap and water for many washable household mold surfaces and advises against using bleach as a routine mold-cleaning solution.
High-pressure washing is not a universal indoor mold-remediation method because aggressive water application can introduce additional moisture.
Step 6: Evaluate & Clean Contents
Furniture, stored belongings, and other contents require individual evaluation. Hard or non-porous items may often be cleaned, while heavily contaminated porous materials may not be practical to restore.
Technicians consider the material, contamination level, moisture exposure, condition, and value of each item before deciding whether cleaning is appropriate.
Step 7: Use Antimicrobial or Encapsulating Products When Appropriate
Some projects may use antimicrobial products or coatings after physical cleaning. However, these products do not replace removal of damaged materials, detailed cleaning, or correction of the moisture source.
Technicians should use any chemical product according to its label, intended application, and project conditions.
Similarly, encapsulating coatings should not simply cover active mold or damp materials. The underlying contamination and moisture problem must first receive appropriate attention.
Step 8: Clean Work Routes & Equipment
Technicians manage tools, equipment, protective materials, and travel routes so contaminated dust does not spread into clean areas.
Depending on the job, crews may clean equipment before removing it from containment and maintain protective coverings along exit routes.
Step 9: Complete Necessary Structural Drying
Materials that remain in place should reach appropriate drying goals before technicians close walls, replace flooring, or begin reconstruction.
Dehumidifiers and air-moving equipment may assist with drying when the project conditions allow their use.
Technicians should confirm progress with moisture measurements rather than relying only on how a surface looks or feels.
Step 10: Conduct Final Evaluation
Once cleaning and drying finish, the remediation area should show no unresolved visible mold growth, excessive debris, or active moisture condition.
Some projects use an independent consultant for post-remediation verification. Other projects rely on visual inspection, moisture evaluation, and the agreed remediation scope.
Routine air sampling or clearance testing is not automatically necessary for every residential mold project.
Does Fogging Replace the Mold Remediation Process?
No. Fogging alone should not replace physical cleaning, removal of unsalvageable materials, containment, moisture correction, and drying.
The original version of this article described dry fog mold removal as superior to traditional remediation. That claim oversimplifies the process.
Some remediation projects may use specialized products or application methods as part of a broader scope. However, simply distributing a chemical into the air does not remove contaminated drywall, wet insulation, damaged carpet underlay, or another moisture source.
Physical Source Removal Still Matters
When mold contaminates materials that cannot be adequately cleaned, technicians may need to remove those materials. Likewise, surfaces that remain should receive appropriate cleaning.
A product application cannot substitute for those steps.
HEPA Filtration During Mold Remediation
HEPA-filtered equipment can help manage fine particles during remediation. Air filtration devices may operate inside containment while technicians disturb contaminated materials.
HEPA Air Filtration Devices
Air filtration devices pull air through HEPA filters designed to capture very small particles. When configured correctly, these units can support particle control within a remediation work area.
HEPA Vacuuming
Technicians may also use HEPA vacuums during detailed cleaning. The goal is to remove settled dust and particles from appropriate surfaces rather than simply redistribute them.
Equipment use should match the remediation plan and site conditions.
Health & Safety During the Mold Remediation Process
Mold remediation can disturb contaminated dust and building materials. For that reason, technicians use work practices designed to protect themselves and limit contamination outside the work area.
Personal Protective Equipment
The appropriate PPE depends on project conditions. Workers may use respirators, gloves, protective clothing, eye protection, and footwear protection.
Controlled Material Handling
Crews should bag or contain mold-affected debris before moving it through unaffected areas. Careful handling reduces the chance of distributing dust throughout the property.
Occupant Protection
Occupants should generally stay outside active containment areas. People with respiratory conditions or other health concerns should discuss personal exposure questions with a healthcare professional.
For Canadian homeowner guidance, review Health Canada’s Guide to Addressing Moisture and Mould Indoors.
Post-Remediation Verification & Mold Testing
Verification confirms whether the remediation scope has reached its intended goals. However, verification does not always mean air testing.
Visual Evaluation After Remediation
The work area should appear clean and free from unresolved visible mold growth or demolition debris. The moisture source should also be under control.
Confirming Moisture Conditions
Technicians can use moisture-testing equipment to confirm that materials have reached appropriate drying goals before reconstruction.
When Third-Party Testing May Be Appropriate
An independent environmental professional may perform post-remediation verification when the project specification requires it, when parties request independent confirmation, or when project conditions justify additional evaluation.
A test should not be described as proving that a building is completely “mold-free.” Mold spores naturally exist in indoor and outdoor environments.
Restoration & Repairs After Mold Remediation
Remediation and reconstruction are related but separate stages. After technicians finish mold cleanup, drying, and any required verification, repairs can begin.
Replacing Removed Building Materials
Reconstruction may include drywall, insulation, flooring, trim, ceilings, cabinetry, paint, or other finishes.
Correcting the Original Moisture Problem
Repairs should also address the condition that caused the mold problem. For example, replacing drywall without repairing an active plumbing leak would leave the property vulnerable to another moisture problem.
How Long Does the Mold Remediation Process Take?
There is no universal timeline. A small, accessible project may take several working days, while extensive remediation can take a week or longer.
Hidden contamination, wet structural materials, large containment areas, limited access, consultant involvement, and reconstruction can extend the overall schedule.
Remediation Time vs. Reconstruction Time
The mold cleanup phase may finish before repairs. Drywall installation, flooring, painting, cabinetry, or other reconstruction can add additional days or weeks depending on the scope.
For this reason, property owners should separate the remediation timeline from the complete restoration timeline when planning the project.
Choosing a Mold Remediation Company
A contractor should clearly explain what they plan to remove, clean, dry, and protect before work begins.
Check Training & Experience
Look for technicians with relevant mold-remediation training and experience. IICRC certification can help demonstrate training in recognized restoration practices.
Ask About Their Mold Remediation Process
A qualified contractor should be able to explain:
- How they will identify the moisture source
- Which materials need removal
- How they will establish containment
- Which HEPA equipment they plan to use
- How they will clean remaining surfaces
- How they will confirm drying progress
- Whether third-party verification is appropriate
- What reconstruction will follow remediation
Be Careful With Absolute Guarantees
Avoid assuming that a promise of a permanently “mold-free” property means the moisture problem cannot return. Future leaks, flooding, condensation, or excessive humidity can create new conditions for mold growth.
Instead, ask exactly what the contractor’s written warranty covers and what conditions or exclusions apply.
Preventing Mold After the Remediation Process
Prevention depends primarily on moisture control. Health Canada recommends keeping indoor relative humidity around 30% to 50% where practical.
Repair Water Leaks Promptly
Investigate plumbing, roofing, foundation, and drainage problems as soon as you discover them.
Improve Ventilation
Use properly vented bathroom and kitchen exhaust fans. Clothes dryers should also exhaust outdoors.
Control Indoor Humidity
Use a dehumidifier or air-conditioning system where necessary to help manage excess humidity.
Monitor Moisture-Prone Areas
Basements, bathrooms, kitchens, attics, crawlspaces, laundry areas, and spaces around plumbing fixtures deserve regular attention.
Mold Remediation Process: Final Summary
A successful mold remediation process does more than remove visible mold. Professionals identify the moisture problem, control the work area, remove materials that cannot remain, clean salvageable surfaces, manage dust, dry affected materials, and prepare the area for repairs.
Some projects also use antimicrobial products, coatings, or independent verification, but these steps depend on the specific conditions. They should not automatically replace physical cleaning, material removal, or moisture correction.
Most importantly, control the source of moisture. Mold can return if plumbing leaks, water intrusion, condensation, or excessive humidity continue after remediation.
Mold Remediation Process: Frequently Asked Questions
What are the main steps in the mold remediation process?
The usual stages include assessment, moisture-source correction, containment, controlled material removal, cleaning, drying, final evaluation, and reconstruction when necessary.
Does every mold remediation project require containment?
No. Containment requirements depend on the amount of mold, work being performed, building conditions, and potential for contamination to spread.
Does mold remediation always require air testing?
No. Health Canada does not recommend routine air testing for every residential mold problem. Testing may be useful when project conditions or an independent consultant’s scope call for it.
Do technicians always apply antimicrobial products?
No. Product use depends on the material, contamination, project specification, and product label. Physical removal and cleaning remain central parts of remediation.
Can fogging eliminate mold by itself?
Fogging should not replace correction of the moisture source, removal of damaged materials, detailed cleaning, containment, or drying.
Does clearance testing prove a house is mold-free?
No. Mold spores naturally exist in the environment. Verification instead evaluates whether the remediation work met the project’s established objectives.
Can mold return after professional remediation?
Yes. A new leak, flooding, condensation, or excessive humidity can create new conditions for mold growth even after a previous project was completed correctly.
Need Professional Mold Remediation?
GTA Restoration provides professional mold assessment, containment, removal, cleaning, drying, and remediation throughout Toronto and the GTA.
Call 416-800-0000 for assistance.
Learn More ↴
What Is a Water Damage Restoration Technician? | Mold Removal Toronto | Water Damage Restoration |Water Damage Restoration Process | Toronto Emergency Plumber |




 Facebook
  Instagram
  LinkedIn
  X / Twitter
  YouTube