

Tags: Black Mold, Mold in Shower, Mold in Shower Grout,
For non-emergencies use our contact form

Emergency? 24-Hrs
416.800.0000Are you frustrated with persistent black mold in shower grout? You’re not alone. Black mold in shower grout is a common bathroom issue that not only looks unsightly but can also pose health risks. Discover these 10 powerful steps to eliminate black mold in shower grout and enjoy a sparkling, healthy bathroom once again.
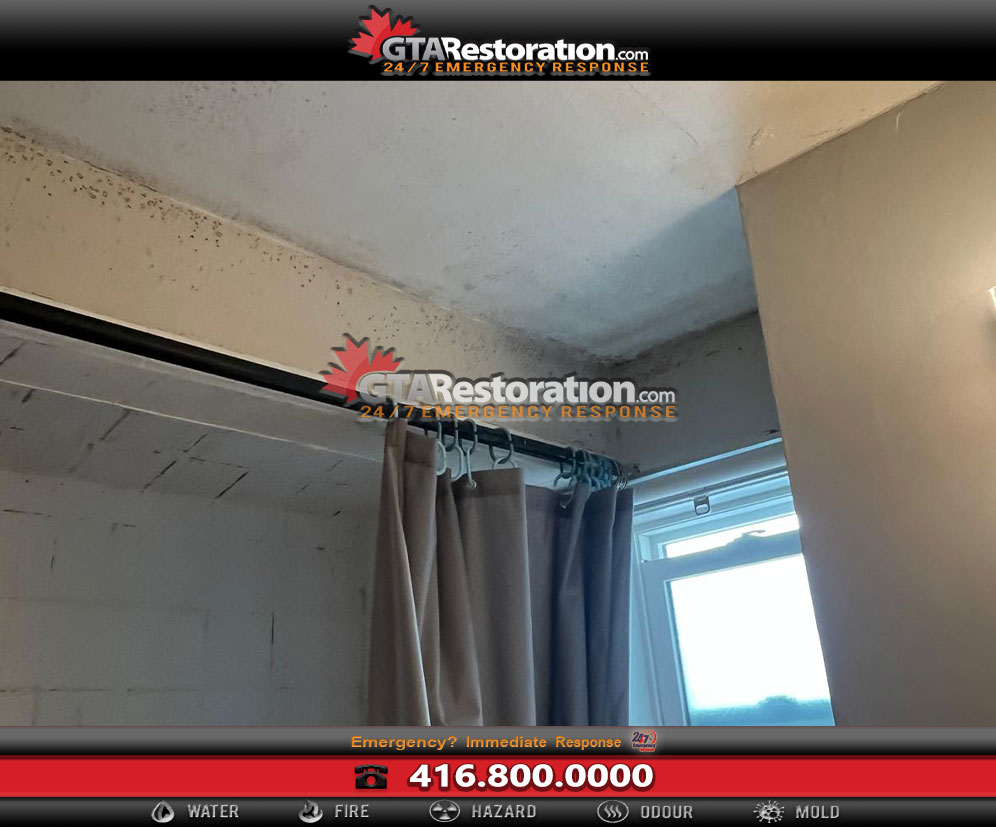
Black mold in shower grout refers to the stubborn dark patches that grow within the porous lines between your shower tiles. These growths thrive in warm, moist environments—making your bathroom the perfect breeding ground. While it may start as small black spots, black mold on shower grout can quickly spread, leading to tough stains and a potential musty odor.
The real danger of black mold in shower grout isn’t just cosmetic. Mold spores can trigger allergies, asthma, and even respiratory infections, especially for children and those with compromised immune systems. That’s why it’s vital to act fast and follow these power steps to tackle black mold in shower grout head-on.
Begin by examining your shower grout for telltale black streaks or patches. Shine a flashlight along the grout lines to see where black mold in the shower grout is hiding.
For a power-packed clean, assemble these essentials:
Gloves
Mask
Scrubbing brush
Spray bottle
Bleach or white vinegar
Baking soda
These tools are critical for eradicating black mold in shower grout.
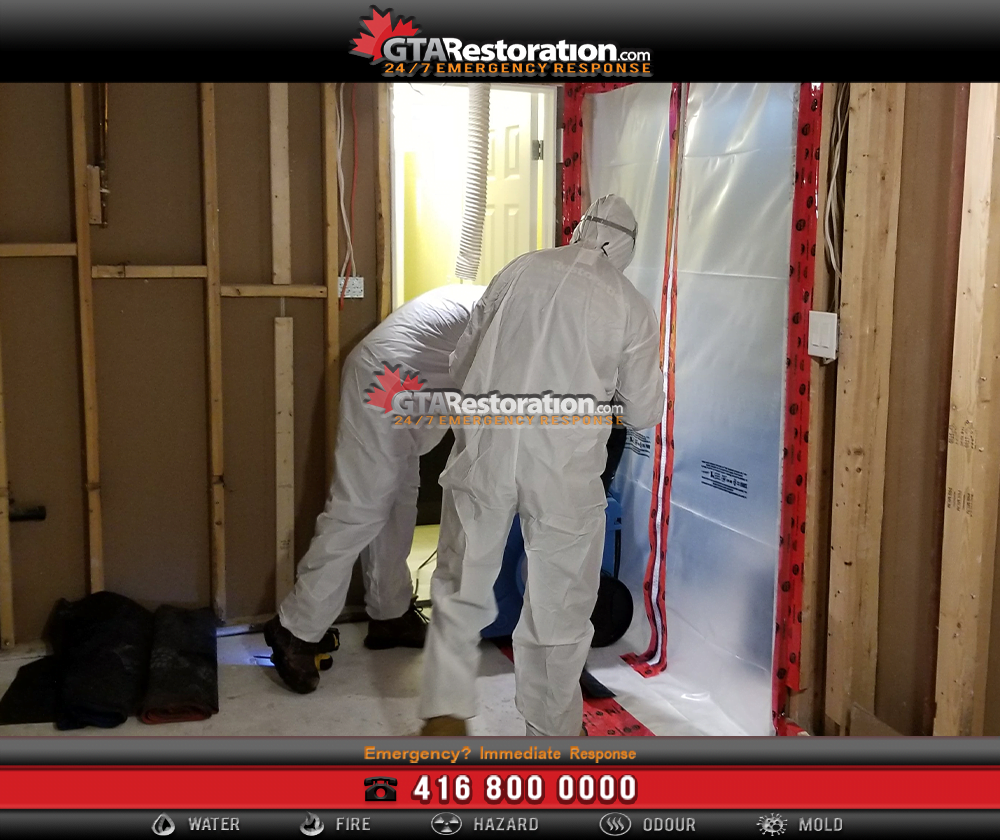
Wear gloves and a mask before you tackle black mold in shower grout. Mold spores can become airborne, so safeguarding your health is step one.
Wipe down tiles and grout with warm, soapy water to remove soap scum and surface grime. This preps the area for maximum removal of black mold in shower grout.
Mix a powerful solution of bleach and water (or use white vinegar for a natural alternative) in your spray bottle. Saturate the black mold in shower grout and let it soak for at least 15 minutes.
Use a stiff brush to scrub the grout lines. Pay special attention to corners and cracks where black mold in shower grout loves to hide.
Thoroughly rinse with warm water. Pat the area dry, as lingering moisture is the main culprit for recurring black mold on shower grout.
For stubborn patches, make a paste of baking soda and water. Apply it to the black mold in shower grout, let it sit for 10 minutes, and scrub again.
Double-check all grout lines. If you see remaining black mold in shower grout, repeat the cleaning process for a complete victory.
Keep your bathroom well-ventilated. Use a squeegee after showers and fix leaks promptly to reduce the chances of black mold in shower grout returning.
Experts recommend cleaning grout weekly and deep-cleaning monthly to keep black mold in shower grout at bay.
Absolutely! White vinegar and baking soda are both effective and eco-friendly options to combat black mold in shower grout.
If black mold in shower grout reappears after repeated cleaning, re-grouting may be the best solution for a fresh, clean look.
Now you know the top 10 power-packed steps to fight black mold in shower grout. By staying proactive, using the right methods, and keeping your bathroom dry, you’ll enjoy a mold-free shower for years to come.
Nationwide, Local Pricing
GTA Restoration offers local flood & water damage repair, mold removal/remediation, asbestos removal/abatement, fire/smoke damage repair services and much more.
Search
Black Mold in Shower Grout Tips
We Work Direct with All Insurance Companies
Wᴇ ᴀʀᴇ ᴄᴏᴍᴍɪᴛᴛᴇᴅ ᴏɴ ᴡᴏʀᴋɪɴɢ ᴡɪᴛʜ ᴇᴠᴇʀʏ ɪɴsᴜʀᴀɴᴄᴇ ᴄᴏᴍᴘᴀɴʏ ᴀᴄʀᴏss Cᴀɴᴀᴅᴀ & USA.
Learn more ↴ 
RELATED ARTICLES
follow us on ![]()
![]()
![]()

![]()
Our Clients

Affiliates

![]()
![]()
![]()
![]()
Call Us 1.800.506.6048
Emergency? Immediate response 24/7
We cover all GTA 24/7.
Head Office:
101 Lebovic Ave,
#10
Toronto, ON
M1L 0J2,
Open 24 hours
Downtown Office:
250 Yonge St,
#10
Toronto, ON
M5B 2L7,
Open 24 hours
For non-emergencies use our contact form
Not sure what you need?
Call us today to find the best product for your situation.
Head Office:
101 Lebovic Ave,
Unit #10
Scarborough,
ON, M1L 4T7 Hours24-Hours Open
Downtown Office:
250 Yonge Street,
Unit #1A
Toronto,
ON, M5B 2L7 Hours24-Hours Open
Black Mold in Shower Grout
Get a quote today