Sewer Backup Cleanup Checklist: First Safety Steps
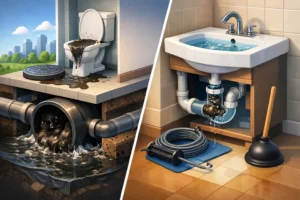
A sewer backup cleanup checklist helps you make safer decisions when sewage enters a basement, bathroom, mechanical room or other part of a property. Unlike a clean plumbing leak, wastewater may contain bacteria, viruses and other contaminants. Therefore, protecting people comes before removing water or damaged materials.
If sewage is actively entering the building, stop using toilets, sinks, showers, washing machines and dishwashers. Additional water use can feed the backup and make contamination spread farther.
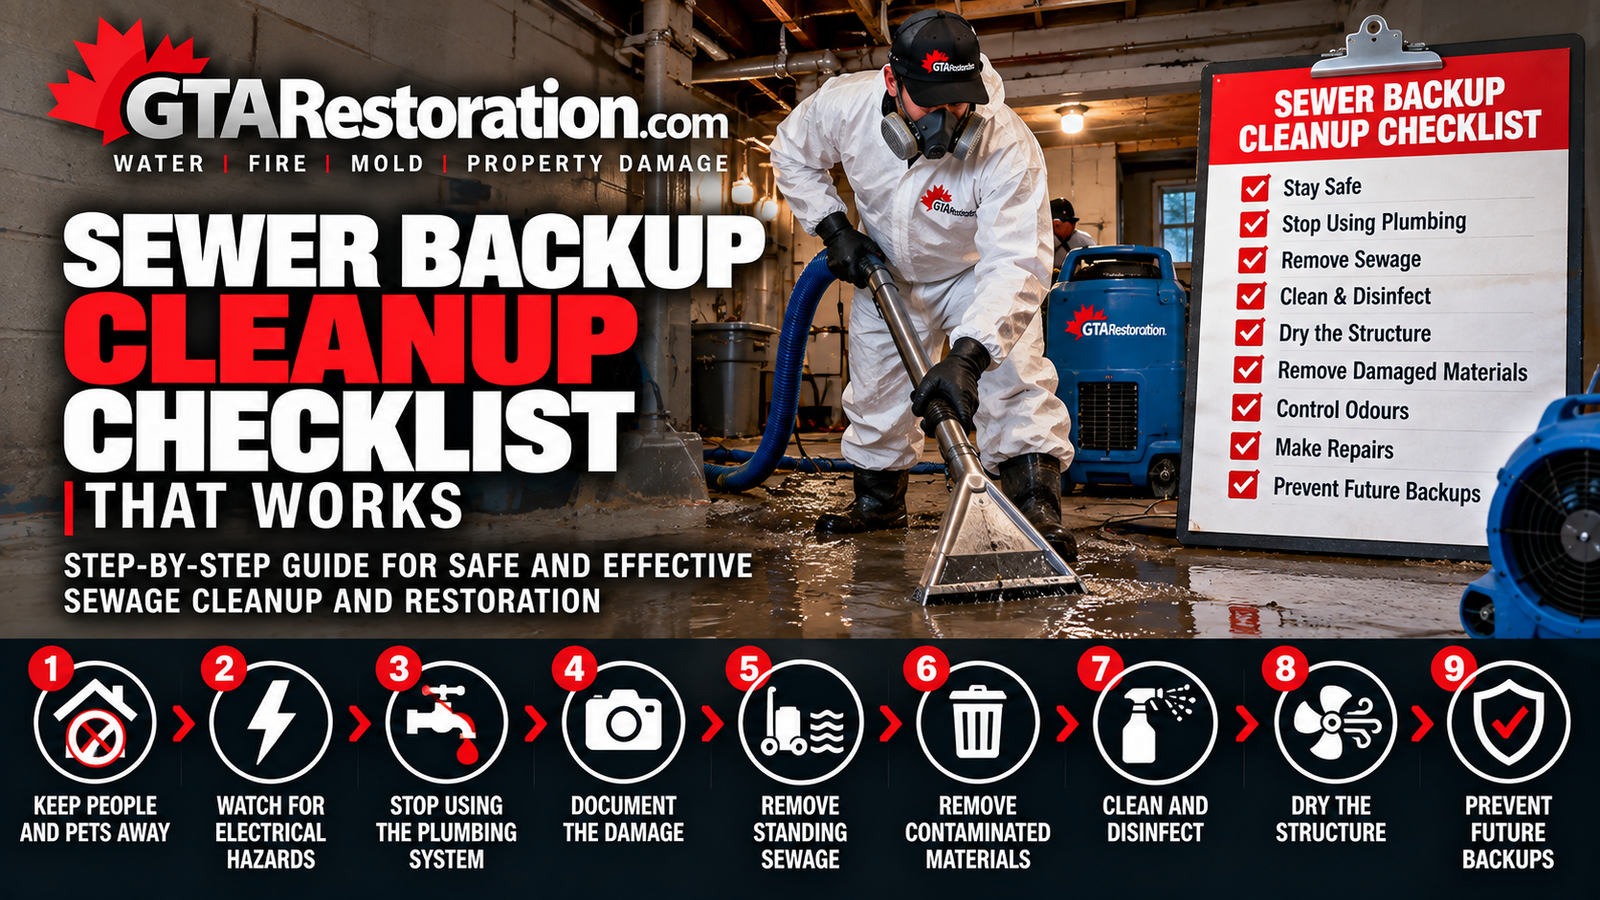
Sewer Backup Cleanup Step 1: Keep People and Pets Away
First, isolate the affected area. Keep children, pets, older people and anyone with respiratory conditions or a weakened immune system away from sewage-contaminated spaces.
Avoid walking through contaminated water and then entering clean rooms. Otherwise, footwear and tools can spread sewage to unaffected areas.
Sewage Backup Cleanup Step 2: Watch for Electrical Hazards
Do not enter standing water when outlets, extension cords, appliances or electrical panels may be affected. If power must be disconnected, only do so when you can reach the electrical panel without entering the flooded area.
If there is any doubt, stay out and contact a qualified electrical professional.
Sewer Backup Cleanup Step 3: Stop Using the Plumbing System
If a sewer line is blocked, continued plumbing use may push more wastewater into the building. Therefore, stop flushing toilets and avoid running sinks or appliances until the source is identified.
The City of Toronto basement flooding guidance also advises residents to avoid using toilets and sinks when a sewer backup may be causing basement flooding.
Sewer Backup Restoration Step 4: Document the Damage
When you can do so safely, take photos and videos before major cleanup begins. Record standing sewage, damaged flooring, walls, furniture, storage items and the areas where wastewater entered.
In addition, save emergency invoices, disposal records and restoration documents if you may need to contact your insurer.
Step-by-Step Sewer Backup Cleanup Checklist
Sewer Backup Cleanup Step 5: Find and Control the Source
The backup may come from a blocked building drain, damaged sewer lateral, tree roots, heavy rainfall or a problem with the municipal sewer system. Therefore, cleanup should not move forward while sewage continues entering the property.
If several drains are backing up at once, the problem may involve the main sewer line rather than one fixture. Toronto property owners can also report blocked sewer service lines or basement flooding to 311 so Toronto Water can investigate the City-side sewer system.
Sewage Cleanup Step 6: Remove Standing Wastewater
Standing sewage should be removed with equipment and procedures suitable for contaminated water. Do not use an ordinary household vacuum for sewage extraction.
For a significant backup, professional sewer backup cleanup is usually the safer approach. Trained crews can provide extraction, containment and proper handling of contaminated materials.
Sewer Backup Cleanup Step 7: Remove Contaminated Materials
Some hard, non-porous surfaces can often be cleaned and disinfected. However, sewage can penetrate porous materials and make them difficult to restore safely.
Depending on the conditions, technicians may need to remove contaminated:
- Drywall
- Insulation
- Carpet underlay
- Cardboard
- Particleboard
- Absorbent furniture
- Some flooring materials
- Other heavily contaminated porous contents
The City of Toronto advises property owners to discard drywall and insulation contaminated by sewage or floodwater.
Sewage Damage Cleanup Step 8: Clean and Disinfect Surfaces
After sewage and contaminated debris are removed, crews clean exposed surfaces before applying an appropriate disinfecting process. Simply spraying a product onto visible dirt is not enough.
First, physical soil and contamination must be removed. Next, the selected disinfectant must be used according to its product directions, including the required contact time.
Never mix different cleaning chemicals together. In addition, follow product labels and safety instructions carefully.
Sewer Backup Cleanup Step 9: Dry the Structure Thoroughly
Removing sewage does not mean the property is dry. Moisture can remain beneath flooring, behind baseboards, inside wall cavities and within framing.
Therefore, technicians may use moisture meters, air movers and commercial dehumidifiers to dry affected building materials. Monitoring should continue until suitable drying goals are reached.
Check for Hidden Moisture During Sewer Backup Cleanup
Wastewater can travel farther than the visible puddle. For example, it may move under flooring, behind drywall or through openings between rooms.
As a result, professional moisture investigation can help determine the true size of the affected area before repairs begin.
Control Odours During Sewage Backup Cleanup
Air fresheners do not solve sewage odours. If a smell remains, contamination or moisture may still be present in building materials, drains or concealed spaces.
Proper source removal, cleaning and drying should come first. Afterward, additional odour removal may be appropriate if needed.
Sewer Backup Restoration and Prevention After Cleanup
Complete Drying Before Sewer Backup Repairs
Replacing drywall, flooring or trim too early can trap moisture inside the structure. Therefore, wait until contaminated materials are removed and affected areas reach appropriate drying goals.
Once the space is clean and dry, repairs can begin.
Keep Sewer Backup Cleanup Records Organized
Coverage varies by policy. However, clear documentation can help explain what happened and what emergency work was required.
Keep photographs, plumbing reports, restoration estimates, equipment records, disposal notes and repair invoices together. Then contact your insurer or broker for a coverage decision.
Find the Cause After Sewer Backup Cleanup
Cleanup solves the immediate contamination problem, but it does not necessarily fix the cause. Therefore, a plumber may need to inspect the sewer line after the emergency.
Common causes include grease, wipes, roots, broken pipes and heavy rainfall.
Prevent Another Basement Sewer Backup
Some homes may benefit from a backwater valve, sump pump or other basement flood protection measures. A licensed plumber can assess whether these systems suit the property.
Toronto also offers eligible residential property owners support for certain basement flood protection measures, including backwater valves and sump pumps.
Maintain Drains After Sewage Backup Cleanup
Do not pour fats, oils or grease down drains. Also, avoid flushing wipes, dental floss and other products that do not break down properly in sewer lines.
In addition, investigate slow drains or repeated gurgling before they turn into a full backup.
Professional Sewer Backup Cleanup and Restoration
A complete sewer backup cleanup checklist includes more than water removal. The response should address safety, contamination, extraction, damaged materials, cleaning, drying and the original plumbing problem.
Ultimately, acting quickly can help limit how far sewage spreads through a property. When contamination is extensive, the backup affects finished rooms or electrical hazards are present, professional help is usually the safer option.
Need Sewer Backup Cleanup in Toronto?
GTA Restoration provides sewage extraction, contaminated material removal, cleaning, structural drying and restoration throughout Toronto and the GTA.
Keep people away from contaminated water, stop using the plumbing system and get professional help before the backup spreads farther.
Call Us: 416-800-0000
Learn More
How to Clean Sewer Backup Safely | Sewer Backup Cleanup vs Plumbing | Toronto Sewer Backup Cleanup | Montreal Sewer Backup Cleanup | Commercial Sewage Cleanup