


For non-emergencies use our contact form
Preparing a Roof Tarp Work Order
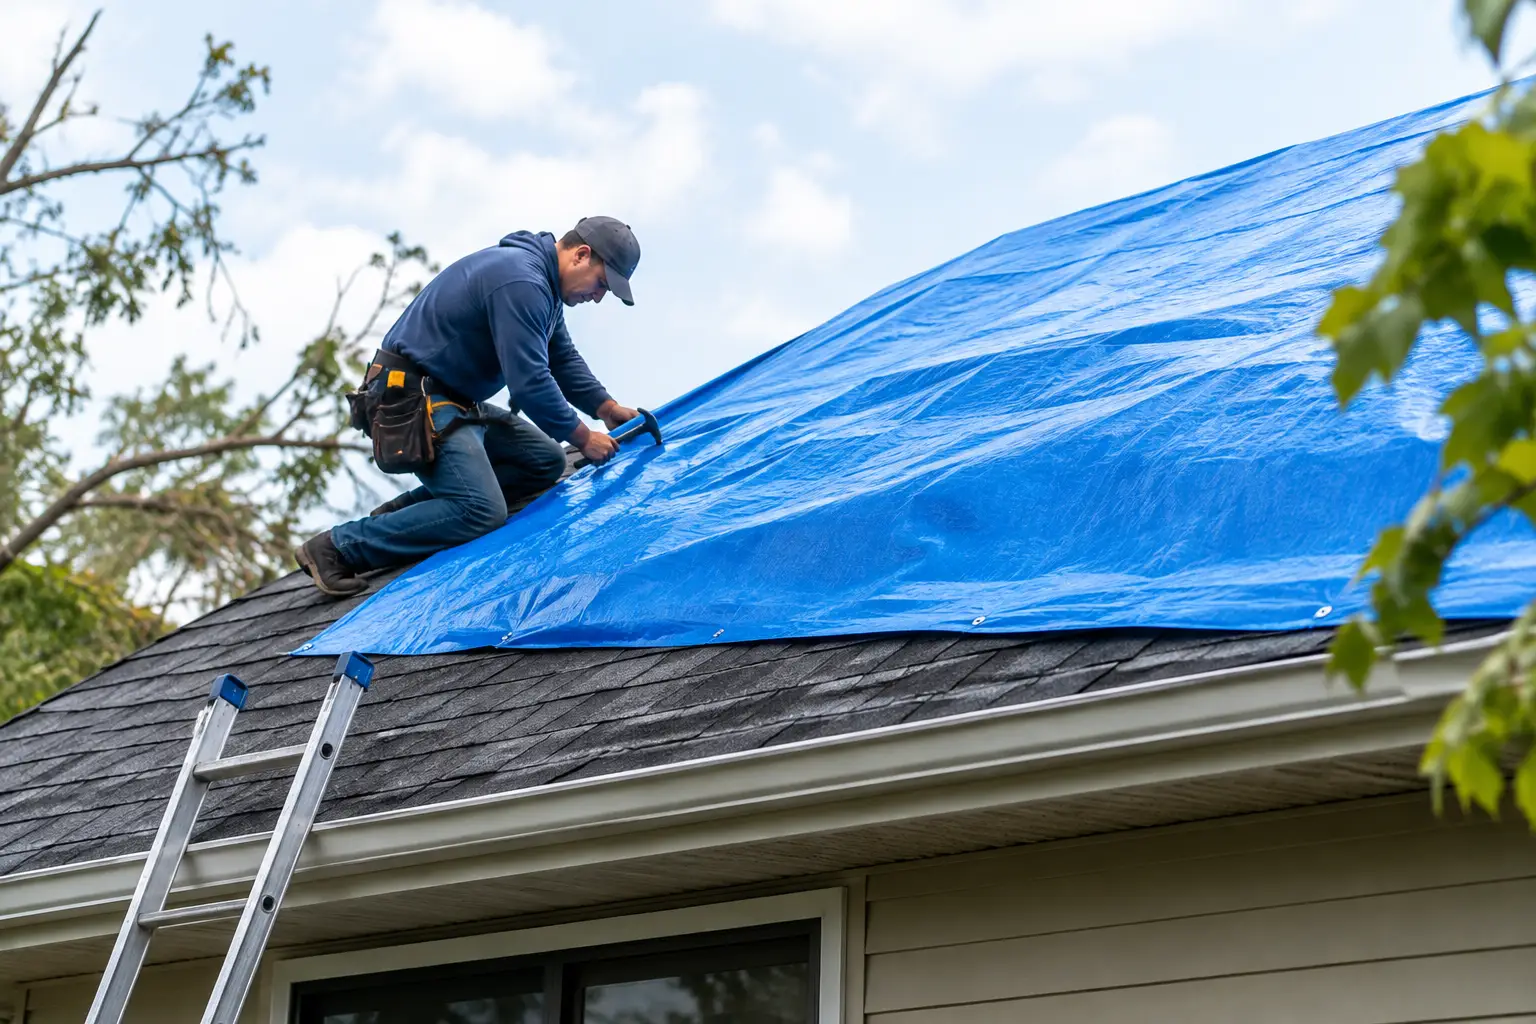
Use clear scope and handover notes to connect temporary protection with the later roof repair and indoor cleanup.
Building Details
Describe roof access and visible damage from the ground. Mention trees, wires and locked routes without approaching hazards.
Authority to Proceed
Confirm who may approve work and scope changes. In shared buildings, arrange entry through the owner or management.
Damage Evidence
Ask the roofer for photos of its findings. Keep before-and-after records so the scope is easy to understand.
Temporary Cover Scope
Identify the area the cover protects and any limits. Separate emergency protection from permanent repairs in the quote.
Weather Changes
Agree on updates when weather affects access. Keep indoor restrictions in place until the relevant hazards have been assessed.
Handover Contact
Record who receives reports of new leaks or cover movement. Confirm the next inspection before the visit ends.
Interior Work
Name the team handling wet rooms and materials. Ask for drying and repair records alongside the roof report.
Cover Removal
Agree on who removes temporary materials during permanent repairs. Keep follow-up dates and open tasks visible in your file.
Call GTA Restoration to discuss the affected areas and arrange help in Toronto and the GTA.
Service Areas Across Canada
GTA Restoration serves communities across Canada, including Toronto and the GTA. U.S. locations are opening. Browse our Canadian service areas below, and contact us to confirm services and availability for your address.
Search
- Air Duct Cleaning Montreal
- Ajax Asbestos Removal
- Ajax Mold Removal
- Ajax Water Damage
- Asbestos Removal Calgary
- Asbestos Removal Edmonton
- Asbestos Removal Fort Saskatchewan
- Asbestos Removal Gloucester
- Asbestos Removal Grimsby
- Asbestos Removal Hamilton
- Asbestos Removal Kanata
- Asbestos Removal Kitchener
- Asbestos Removal Laval
- Asbestos Removal Lincoln
- Asbestos Removal Montreal
- Asbestos Removal Nepean
- Asbestos Removal Niagara Falls
- Asbestos Removal Orleans
- Asbestos Removal Ottawa
- Asbestos Removal Sherwood Park
- Asbestos Removal Spruce Grove
- Asbestos Removal St Catharines
- Asbestos Removal St-Albert
- Asbestos Removal Thorold
- Asbestos Testing Hamilton
- Asbestos Testing Montreal
- Asbestos Testing Petersburg
- Aurora Mold Removal
- Aurora Water Damage
- Beaconsfield Asbestos Removal
- Brampton Asbestos Removal
- Brampton Mold Removal
- Brampton Water Damage
- Burlington Asbestos Removal
- Burlington Mold Removal
- Burlington Water Damage
- Burst Pipe Montreal Frozen Pipe
- Burst Pipe Repair Edmonton
- Burst Pipe Repair Ottawa
- Caledon Mold Removal
- Caledon Water Damage
- Calgary Mold Removal
- Calgary Water Damage
- Cambridge Mold Removal
- Cambridge Water Damage
- Clarington Mold Removal
- Concord Mold Removal
- Concord Water Damage
- Cooksville Mold Removal
- Edmonton Water Damage
- Emergency Roofing Vancouver
- Etobicoke Asbestos Removal
- Etobicoke Mold Removal
- Etobicoke Water Damage
- Fire Damage Grimsby
- Fire Damage Lincoln
- Fire Damage Niagara Falls
- Fire Restoration Fort McMurray
- Fire Damage Restoration Thorold
- Fire Damage St Catharines
- Flood Cleanup Grimsby
- Flood Cleanup Lincoln
- Flood Cleanup Niagara Falls
- Flood Cleanup St Catharines
- Flood Cleanup Thorold
- London Mold Removal
- London Water Damage
- Markham Asbestos Removal
- Markham Mold Removal
- Markham Water Damage
- Mississauga Asbestos Testing
- Mississauga Mold Removal
- Mississauga Water Damage
- Mold Inspection Removal Kitchener
- Mold Remediation Montreal
- Mold Removal & Inspection LaSalle
- Mold Removal Anjou
- Mold Removal Boucherville
- Mold Removal Brossard
- Mold Removal Burnaby
- Mold Removal Chambly
- Mold Removal Chateauguay
- Mold Removal Chomedey
- Mold Removal Coquitlam
- Mold Removal Dollard Des Ormeaux
- Mold Removal Dorval
- Mold Removal Edmonton
- Mold Removal Fort Saskatchewan
- Mold Removal Gloucester
- Mold Removal Grimsby
- Mold Removal Hamilton Inspection
- Mold Removal Ile Bizard
- Mold Removal in Osgoode
- Mold Removal Beaconsfield
- Mold Removal Kahnawake
- Mold Removal Kanata
- Mold Removal Kirkland
- Mold Removal Laval
- Mold Removal Lincoln
- Mold Removal Longueuil
- Mold Removal Montreal East
- Mold Removal Mount Royal
- Mold Removal Nepean
- Mold Removal New Westminster
- Mold Removal Niagara Falls
- Mold Removal Orleans
- Mold Removal Ottawa
- Mold Removal Cumberland
- Mold Remediation Hampstead
- Mold Removal Remediation Roxboro
- Mold Removal Richmond BC
- Mold Removal Rideau Lakes
- Mold Removal Rockcliffe Park
- Mold Removal Saint Hubert
- Mold Removal Saint Laurent
- Mold Removal Sherwood Park
- Mold Removal Spruce Grove
- Mold Removal St Catharines
- Mold Removal Ste Dorothee
- Mold Removal St۔ Albert
- Mold Removal Surrey
- Mold Removal Thorold
- Mold Removal Vancouver
- Mold Removal Vanier
- Mold Removal Westmount
- Montreal Biohazard Cleanup
- Montreal Emergency Plumber
- Montreal Fire Restoration
- Montreal Flood Cleanup
- Montreal Odor Removal
- Montreal Roofing Emergency
- Montreal Sewer Backup Cleanup
- Montreal Water Leak Detection
- Montréal Asbestos Removal
- Montréal Emergency Plumbing
- Montréal Mold Removal
- Montréal Pipe Burst Emergency
- Montréal Water Damage
- Newmarket Mold Removal
- Newmarket Water Damage
- North York Mold Removal
- Oakville Mold Removal
- Oakville Water Damage
- Oshawa Mold Removal
- Oshawa Water Damage
- Ottawa Air Duct Cleaning
- Pickering Mold Removal
- Pickering Water Damage
- Red Deer Water Damage
- RedDeer Mold Removal
- Richmond Hill Mold Removal
- Richmond Hill Water Damage
- Roof Repair Lincoln
- Roof Repair Niagara Falls
- Roof Repair St Catharines
- Scarborough Asbestos Removal
- Scarborough Mold Removal
- Scarborough Water Damage
- Sewage Cleanup Edmonton
- Sewer Backup Lincoln
- Sewer Backup Niagara Falls
- Sewer Backup Ottawa
- Sewer Backup St Catharines
- Thornhill Mold Removal
- Toronto & GTA Asbestos Removal
- Toronto & GTA Mold Removal
- Toronto Air Duct Cleaning
- Toronto Water Damage
- Unionville Mold Removal
- Unionville Water Damage
- Vancouver Asbestos Removal
- Vancouver Biohazard Cleanup
- Vancouver Emergency Plumber
- Vancouver Emergency Plumbing
- Vancouver Fire Restoration
- Vancouver Flood Cleanup
- Vancouver Mold Removal
- Vancouver Odor Removal
- Vancouver Pipe Burst Emergency
- Vancouver Sewer Backup Cleanup
- Vancouver Water Damage
- Vancouver Water Leak Detection
- Vaughan Mold Removal
- Vaughan Water Damage
- Vermiculite Removal Ottawa
- Water Damage Grimsby
- Water Damage Kanata
- Water Damage Kitchener
- Water Damage Lincoln
- Water Damage Longueuil
- Water Damage Nepean
- Water Damage Niagara Falls
- Water Damage Orleans
- Water Damage Ottawa
- Water Damage Repair Montreal
- Water Damage Laval Montreal
- Water Damage Restoration Thorold
- Sewage Backup Cleanup Montreal
- Water Damage St Catharines
- Water Damage Vancouver
- Water Flood Damage Repair Hamilton
- Flood Damage Repair Hampstead
- Whitby Water Damage
- Woodbridge Asbestos Removal
- Woodbridge Mold Removal
- Woodbridge Water Damage
- Restoration Equipment Rental
Emergency Roof Tarp Instructions for Property Owners FAQs
Are these instructions a DIY installation guide?
They help owners arrange and review the work. A qualified crew should assess the roof and choose suitable installation methods.
How large should the tarp be?
The roofer must assess the damage, roof shape and water paths. A single overlap measurement does not suit every site.
What should the quote identify?
It should define temporary protection, its limits, price and follow-up. Keep permanent repairs and later changes clear as separate decisions.
Can the crew work in any weather?
No. Weather and site hazards can limit safe access. Agree on updates and keep people away from affected indoor areas.
Who removes the tarp later?
Confirm this in the handover plan. The temporary-protection crew and permanent roofer should have clear responsibilities for removal and repair.
Learn more ↴ 
RELATED ARTICLES
Direct Billing & Insurance Claims
Ask your insurer about coverage, deductibles and the records it needs.

In-House Financing Available
Financing up to 24 months. No interest. No money down. Ask us about the terms.
Certifications & Insurance
View our firm certification, technician qualifications and insurance documents.

IICRC Certified Firm
GTA Restoration Inc.
Firm number 199912
Valid through
Business Insurance
GTA Restoration Group Inc.
$5 million general liability per occurrence
$8 million contractors pollution per claim
–
IICRC Technician Qualifications
Tony Sokol T. Lleshi · Registration 214520
Valid through
Water Damage Restoration · Fire & Smoke Damage Restoration · Applied Microbial Remediation · Odor Control · Trauma & Crime Scene
View technician verification (PDF) — opens in a new tabInsurance is subject to policy terms, conditions and exclusions.
 Facebook
 Instagram
 LinkedIn
 X / Twitter
 YouTube