For non-emergencies use our contact form
Knowing how to document flood damage starts with recording the original conditions. First, make sure the area is safe. Then, photograph affected rooms, list damaged belongings, and save emergency service receipts.
Clear flood damage documentation helps your insurer, adjuster, property manager, and restoration team understand the loss. In addition, it creates a record of the emergency work completed before repairs begin.
However, safety comes first. If water is near electrical equipment, outlets, appliances, or a breaker panel, stay out of the area. If a burst pipe caused the flooding and you can safely reach the shutoff, turn off the water supply.
Sewage backups and contaminated floodwater require extra caution. Therefore, keep children, pets, tenants, and unprotected staff away from affected areas.
Quick Answer: How to Document Flood Damage for Insurance
Once the area is safe, follow these steps:
- Take wide photos of every affected room.
- Record a slow video walkthrough.
- Photograph the water source if it is visible and safe.
- Capture water lines, damaged materials, and wet contents.
- Create a room-by-room inventory.
- Record model and serial numbers for valuable items.
- Start a timeline of calls, repairs, and emergency work.
- Save receipts, invoices, emails, and reports.
- Document emergency demolition before materials are removed.
- Keep restoration moisture readings and drying records.
Most importantly, do not delay necessary emergency mitigation simply to wait for an insurance adjuster.
How to Document Flood Damage Before Cleanup
First, begin with wide photos and video once conditions are safe. Then, capture individual areas of damage.
Start at the entrance to the affected area and slowly move through each accessible room. In addition, record adjoining areas so your footage shows how far the water spread.
Where possible, record:
- Date and approximate time
- Property location
- Areas affected
- Visible water source
- Standing water
- Damaged flooring
- Wet walls and ceilings
- Affected furniture and contents
- Appliances or equipment exposed to water
When recording video, describe only what you know. For example, you can say, “Water was visible beneath the kitchen sink at approximately 6:30 a.m.”
However, avoid guessing if you do not know why the leak happened. As a result, the record stays factual and easier to review later.
Take Photos for Your Flood Damage Documentation
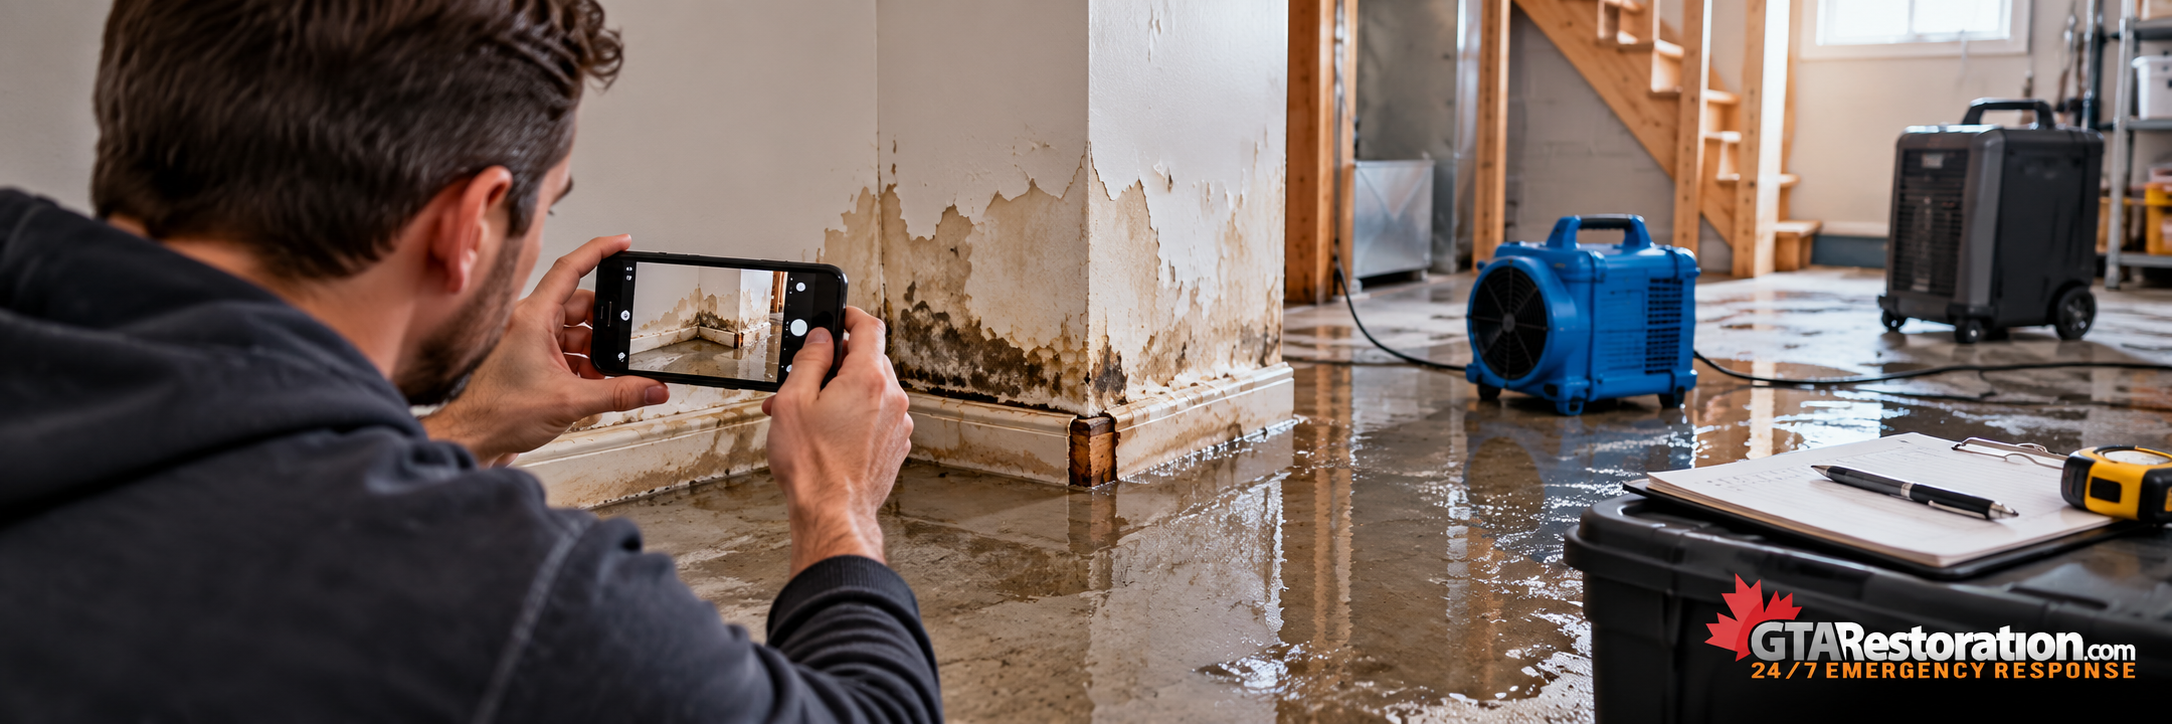
A useful photo record combines several angles. Together, wide, mid-range, and close-up images show both the overall damage and individual details.
Wide Photos of Flood-Damaged Rooms
First, take wide shots that show the entire room. These establish the overall scope and help identify where individual damaged items were located.
Mid-Range Photos of Flood Damage
Next, photograph the relationship between damaged areas and surrounding materials. For example, a mid-range photo can show wet flooring extending from a bathroom into a hallway.
Close-Up Photos of Flood-Damaged Materials
Finally, take close-ups of specific damage, such as:
- Swollen baseboards
- Water stains
- Warped flooring
- Damaged drywall
- Wet insulation
- Rust or corrosion
- Damaged furniture
- Debris
- Appliance damage
Together, these photo types provide context that isolated close-ups cannot show.
Capture Water Depth and Water Lines
If standing water is present and the area is safe, photograph its depth using a clear reference point. However, never enter unsafe water simply to take a measurement.
In addition, photograph:
- Highest visible water line on walls
- Water marks on doors
- Wet furniture legs
- Staining on cabinets
- Water lines on stored contents
These details can help show how high the water reached before extraction began. Therefore, record visible water lines even if the standing water has already receded.
Photograph the Source When Possible
If the source is visible and safe to approach, document it. For example, the flooding may involve:
- Failed plumbing supply line
- Burst pipe
- Overflowing appliance
- Roof opening
- Floor drain backup
- Window well
- Foundation crack
- Sump pump failure
Before a failed fitting, hose, valve, or appliance component is removed, photograph it.
In addition, keep the failed part when practical and safe because an insurer or other party may want to inspect it. Place small parts in a labelled bag or container rather than discarding them immediately.
As a result, useful evidence remains available after emergency work begins.
Build a Room-by-Room Flood Damage Inventory
Learning how to document flood damage includes building an inventory that connects each photo to a specific item and room.
Next, work through the property one room at a time. For each damaged item, record:
- Room
- Item description
- Brand
- Model
- Serial number if available
- Approximate age
- Original purchase price if known
- Current condition
- Whether it was cleaned, removed, or discarded
For example:
Basement family room – oak dresser – lower two drawers swollen and wet – approximately 6 years old.
For commercial properties, also include:
- Equipment
- Furniture
- Inventory
- Tenant improvements
- Documents
- Electronics
- Business fixtures
In addition, note whether the item was still in service before the loss. This gives the insurer more context when reviewing the inventory.
Photograph Labels, Receipts, and Serial Numbers
Higher-value items often require more detail. Therefore, photograph identifying information and available purchase records:
- Manufacturer labels
- Serial numbers
- Model numbers
- Product labels
- Purchase receipts
- Warranty information
- Original invoices
For example, these details are useful for:
- Appliances
- Electronics
- Tools
- Furnaces
- Water heaters
- Commercial equipment
- Specialized machinery
If a receipt is unavailable, record the information you can verify. For instance, a model and serial number may still help identify the exact item.
Do Not Throw Everything Away Immediately
After a flood, you may want to clear the area quickly. However, damaged items should be documented before disposal whenever conditions allow.
- Photograph the item.
- Add it to your inventory.
- Record why it was removed.
- Keep receipts for disposal or replacement.
However, safety comes first. Sewage-contaminated or unsafe materials may require immediate removal. In those situations, ask the restoration team to document the materials before disposal.
As a result, necessary cleanup can continue without losing the original record.
Special Care After a Sewage Backup
Contaminated water requires a different approach. Therefore, do not sort through sewage-exposed contents without appropriate professional guidance and protection.
For example, the following items may not be appropriate for salvage after significant contamination:
- Carpet
- Underpad
- Cardboard
- Paper products
- Insulation
- Some upholstered furniture
- Children’s toys
Professional sewage cleanup can help determine what may be cleaned and what should be removed.
Most importantly, do not put yourself at risk to create a more complete inventory. In addition, keep children and pets away from the affected area until cleanup is complete.
Keep a Flood Damage Documentation Timeline
A simple timeline helps explain the order of events. First, record when you discovered the damage.
Then, add:
- Time the source was shut off
- When the insurer was called
- Claim number
- When property management was notified
- When the plumber arrived
- When restoration crews arrived
- When extraction began
- When demolition occurred
- When drying equipment was installed
- Major conversations or approvals
In addition, save relevant call logs, text messages, emails, and written notices. For example, note when an adjuster approved an inspection or when building management granted access.
As a result, everyone reviewing the file can follow the sequence of events more easily.
Save Receipts for Your Flood Damage Records
Flood losses can create expenses quickly. Therefore, save receipts from the start of the emergency.
Examples include:
- Emergency plumbing
- Water extraction
- Drying equipment
- Restoration services
- Temporary repairs
- Security measures
- Emergency accommodation
- Storage
- Cleaning
- Disposal
If possible, photograph or scan paper receipts immediately. This creates a backup if the originals are lost or damaged.
However, do not assume every expense will be reimbursed. Coverage depends on your policy and the cause of the loss. Therefore, document each expense clearly so the insurer can assess it.
Preserve Evidence Without Delaying Mitigation
There is a balance between preserving evidence and preventing additional damage. However, do not leave standing water in place simply because an adjuster has not arrived.
Instead, take these steps when safe:
- Take photos
- Record video
- Document the source
- Photograph damaged materials
- Begin reasonable emergency mitigation
Professional water extraction and drying can then begin.
If drywall, flooring, or insulation needs emergency removal, photograph the area before and during demolition. As a result, cleanup can proceed while the original conditions remain documented.
How to Document Flood Damage During Demolition
Sometimes materials need removal before an adjuster can visit. In that situation, record:
- Exact location
- Material removed
- Approximate quantity
- Reason for removal
- Moisture readings if available
- Contamination concerns
- Photos before removal
- Photos after removal
For example, if technicians remove wet drywall, photograph the wall before cutting. Then, take another photo after the cavity is exposed.
In addition, ask the restoration contractor to explain why the material could not remain in place. This helps document why demolition was necessary.
Report the Loss Clearly to Your Insurer
Contact your insurer as soon as practical after the emergency is stabilized. Before calling, gather the following information:
- Policy number
- Property address
- Date and time of loss
- Suspected source
- Areas affected
- Emergency actions taken
- Restoration contractor information
Next, ask for a claim number and keep it with your records. When explaining the incident, stay factual.
For example:
Water entered the basement from a burst supply line. The main water supply was shut off at approximately 7:10 a.m. Standing water affected the basement hallway and family room.
However, if the exact cause is unclear, say so. This keeps your initial report accurate while further investigation continues.
For additional guidance, review the guide to filing a home insurance claim from the Insurance Bureau of Canada.
Organize Your Flood Damage Documentation
Knowing how to document flood damage also means organizing the evidence. Otherwise, hundreds of unnamed photos can be difficult to review.
Instead, organize files by room or stage of work. For example:
- Basement-Family-Room
- Laundry-Room
- Mechanical-Room
- Before-Extraction
- During-Demolition
- Contents
- Plumbing-Source
- Restoration-Reports
In addition, give key photos descriptive names:
- Basement-North-Wall-Waterline
- Kitchen-Supply-Line
- Hallway-Flooring-Before-Extraction
- Furnace-Model-Number
As a result, the adjuster can locate supporting evidence more easily. You can also find specific records quickly when answering follow-up questions.
Flood Damage Documentation for Condo Owners
Condo water losses often involve more than one party. Therefore, notify property management or the emergency building contact promptly.
This is especially important if the source may involve:
- Another unit
- Common plumbing
- Roof systems
- Building mechanical systems
- Shared drainage
In addition, keep copies of:
- Management emails
- Incident reports
- Notices
- Work orders
- Security records
- Contractor reports
If authorized, document common-area damage as well. However, avoid photographing neighbouring private units without permission.
Finally, record when management was notified and who responded.
Flood Damage Documentation for Commercial Properties
Commercial flood claims may involve physical damage and operational disruption. Therefore, record how the incident affected business activities as well as the property.
Examples include:
- Business areas closed
- Equipment downtime
- Inventory losses
- Tenant disruption
- Cancelled appointments
- Temporary relocation
- Staff access limitations
- Operational delays
However, protect confidential information. Do not include private customer records, passwords, sensitive documents, or unnecessary personal information in claim photos.
Instead, document the operational impact without exposing private data.
Let Professionals Document What Photos Cannot
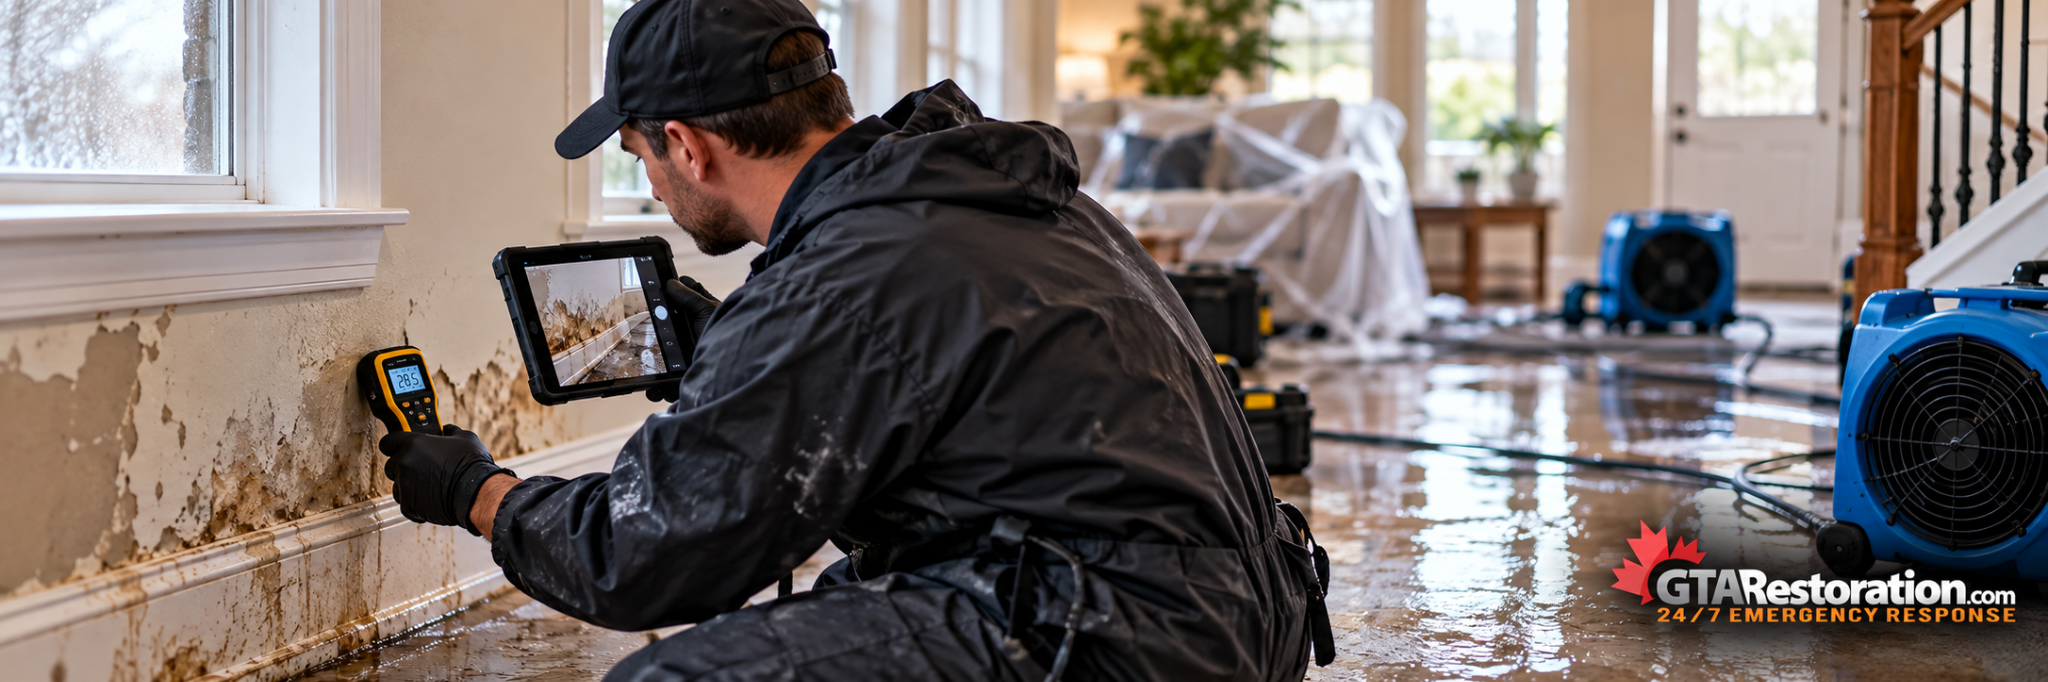
Restoration professionals know how to document flood damage that ordinary photos cannot show. For example, moisture can remain in concealed spaces:
- Under flooring
- Behind baseboards
- Inside walls
- Above ceilings
- Around mechanical systems
- Inside insulation
In addition to photos, professional restoration documentation may include:
- Moisture maps
- Moisture readings
- Humidity readings
- Thermal imaging
- Equipment logs
- Drying records
- Contamination assessments
- Material removal records
- Scope-of-work documentation
Together, these records help explain why extraction, drying, removal, or repairs were necessary.
GTA Restoration provides 24/7 emergency water damage response throughout Toronto and the GTA, including extraction, drying, cleanup, plumbing coordination, and restoration documentation.
In addition, our team can help create a technical record from the first emergency visit through the drying process.
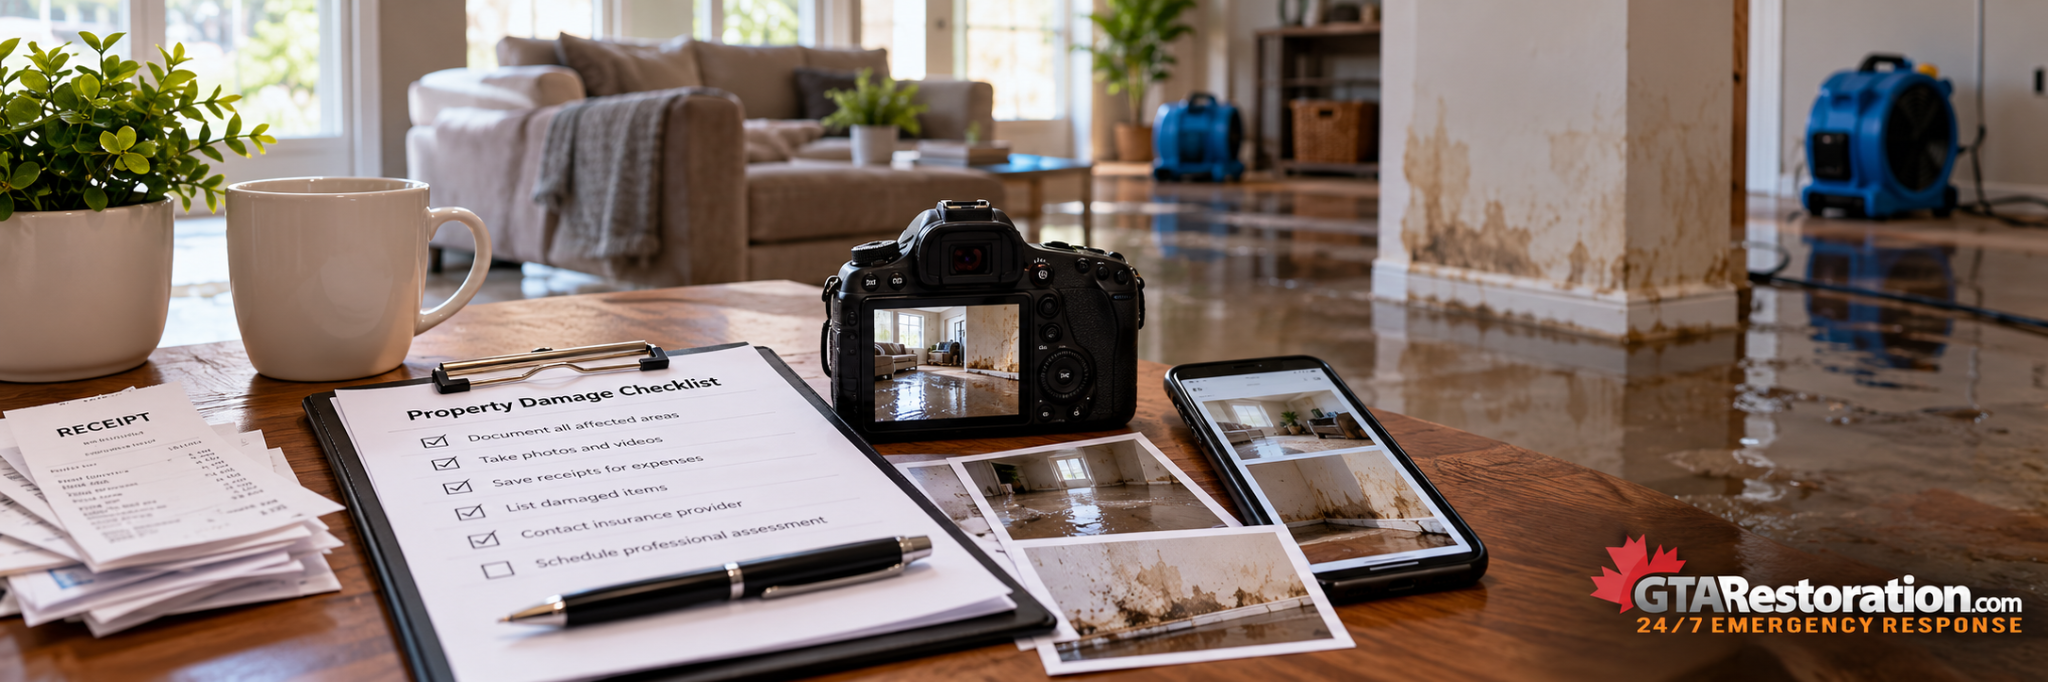
Flood Damage Documentation Checklist
Finally, review your claim file for the following records, where available and safe to obtain:
- Photos of every affected room
- Video of the original conditions
- Photos of the water source
- Water-depth or water-line photos
- Room-by-room inventory
- Model and serial numbers
- Receipts and purchase records
- A written timeline
- Emergency service invoices
- Plumbing reports
- Moisture readings
- Drying logs
- Photos of demolition
- Copies of emails and notices
- Your insurance claim number
Finally, keep these records together in one organized folder. As a result, the claim is easier to review, update, and manage.
Need Emergency Flood Documentation and Cleanup?
Call GTA Restoration — Available 24/7