Thermal Leak Detection Review: What It Reveals
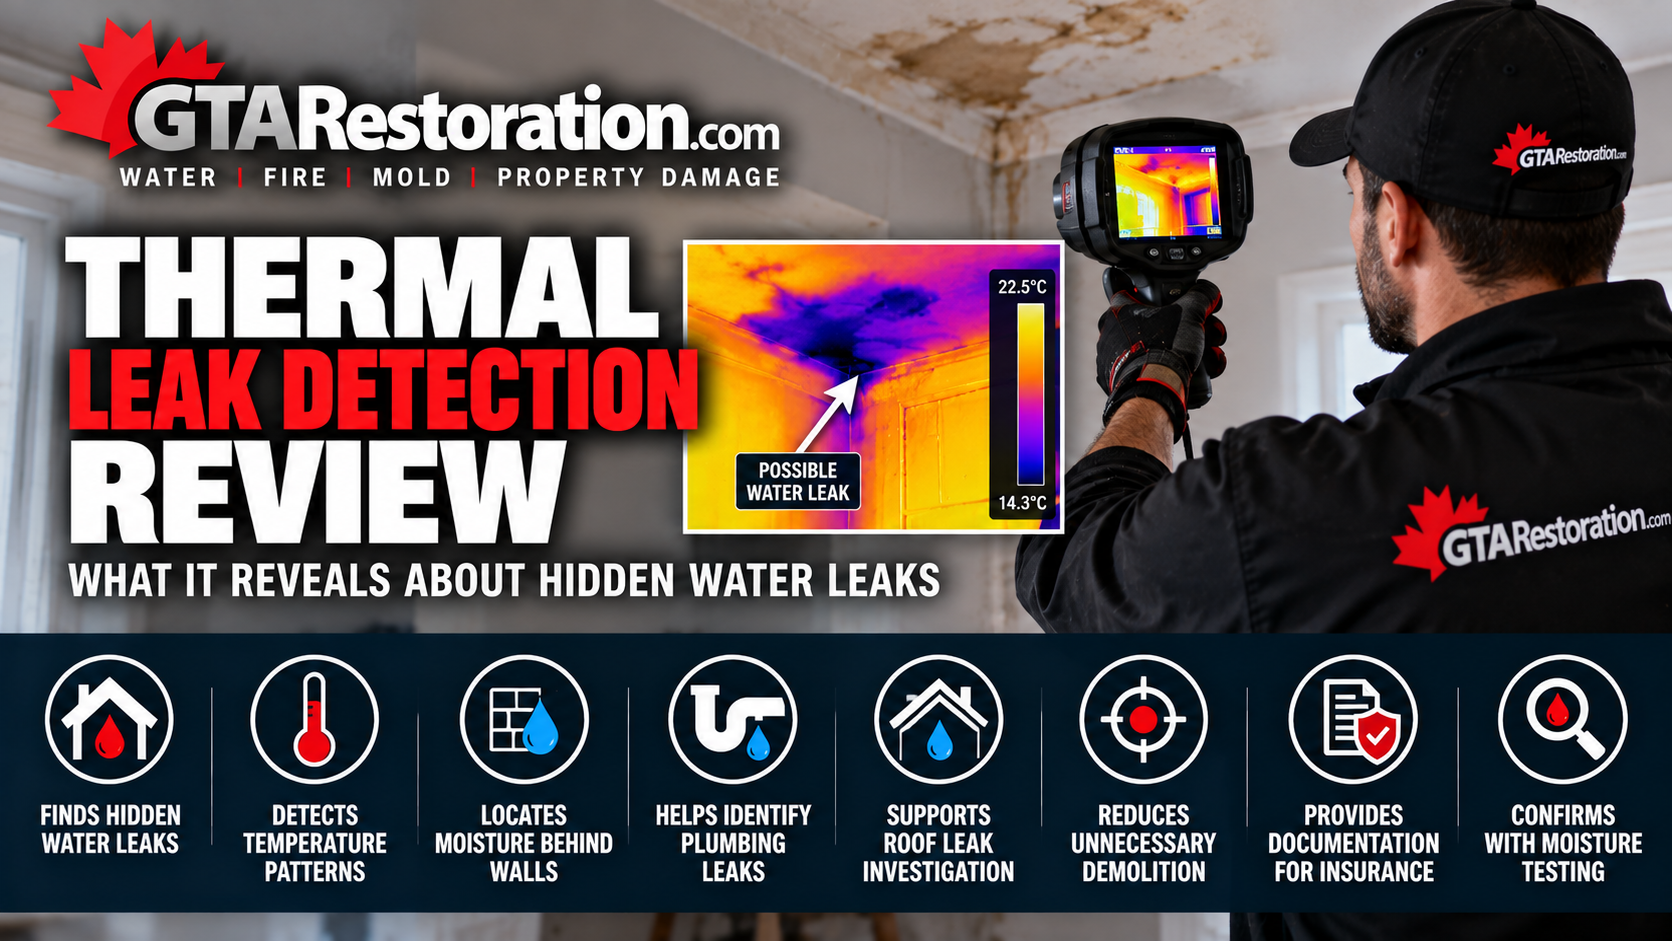
A thermal leak detection review can help locate hidden moisture before unnecessary demolition begins. When water travels behind a wall, beneath flooring or through a ceiling cavity, the visible stain may be far from the actual source. Infrared thermal imaging helps technicians identify unusual temperature patterns that may point to moisture, plumbing leaks, insulation gaps or building-envelope problems.
For homeowners, condo managers and commercial property operators, the main benefit is a faster and more focused inspection. Instead of opening several walls or removing large areas of flooring, a qualified technician can scan the affected area first. As a result, the inspection can narrow down where further testing is needed.
However, thermal imaging does not directly detect water and it does not see through walls. A thermal camera measures surface temperature differences. Therefore, technicians should confirm suspicious areas with moisture meters, visual inspection and other appropriate testing before deciding where repairs are required.
What Does Thermal Leak Detection Actually Show?
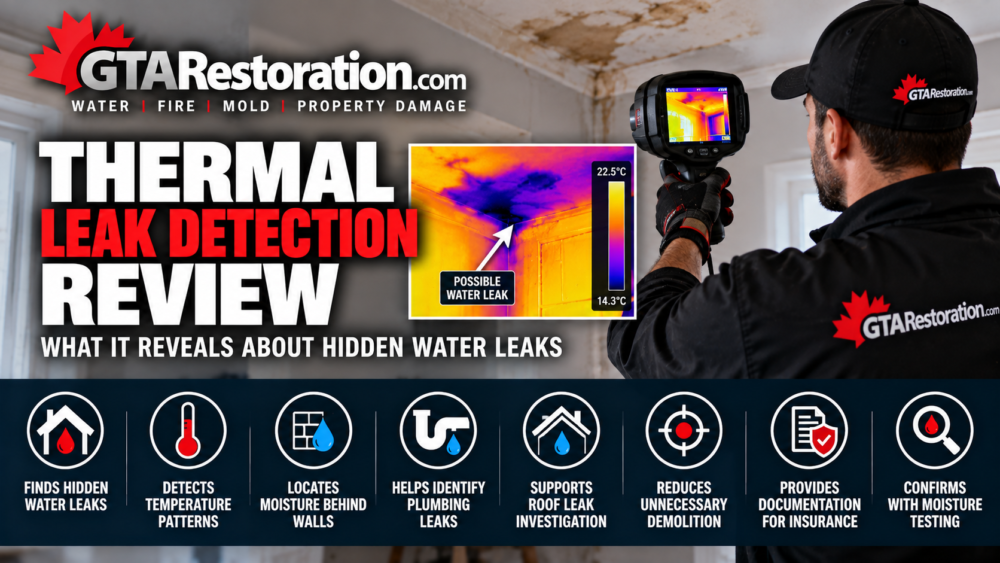
A thermal camera displays warmer and cooler surface patterns. Moisture can sometimes change the temperature of drywall, flooring, ceilings or other materials. For example, evaporation from wet drywall may create a cooler pattern than the surrounding dry surface.
Likewise, a leaking hot-water line may create a warmer pattern behind a wall or beneath flooring. In winter, unusually cold areas around windows, exterior walls or rooflines may point to air leakage, missing insulation or moisture-related problems.
The important point is that a thermal image provides a clue, not a final diagnosis. Therefore, technicians should combine infrared scanning with moisture readings and knowledge of the building before reaching a conclusion.
For additional technical information, review FLIR’s guide to water leak detection with thermal imaging.
Can a Thermal Camera See Through Walls?
No. A thermal camera reads the temperature of the wall, ceiling or floor surface. It cannot look through drywall and show water hidden inside the cavity.
However, moisture behind the surface may change its temperature enough to create a visible thermal pattern. As a result, the technician can identify an area that deserves closer inspection.
When a Thermal Leak Detection Review Is Most Useful
Thermal imaging works especially well when signs of water damage are visible but the source is unclear. For example, a ceiling water stain, bubbling paint, swollen baseboards, musty odours or recurring dampness can all justify further investigation.
Hidden Plumbing Leaks
A plumbing leak behind a finished wall may not appear directly below the failed pipe. Water can travel along framing, insulation, pipes and other materials before it becomes visible.
Thermal imaging allows technicians to scan a broader area first. Next, they can use a moisture meter to confirm whether suspicious materials contain elevated moisture.
Water Damage After a Plumbing Emergency
Thermal imaging can also help after an emergency plumbing event. Even after a burst pipe, overflow or supply-line leak has been stopped, moisture may remain behind walls or below flooring.
Therefore, technicians can use thermal patterns to help map the affected area. Moisture readings then help confirm which materials require drying or further investigation.
Condo Leak Detection
Water movement in multi-unit buildings can be difficult to trace. For example, water may travel through pipe chases, wall cavities, concrete penetrations or shared ceiling spaces.
The unit showing the stain may not contain the original leak. Consequently, a thermal review can help narrow down the likely path before several walls or ceilings are opened unnecessarily.
Commercial Building Leak Detection
Commercial buildings often contain large ceiling spaces, plumbing networks and mechanical equipment. A hidden leak above a suspended ceiling or beneath a washroom floor can affect several areas before someone notices it.
In addition, water near electrical systems, inventory or equipment may require a fast response. Finding the likely moisture path early can help reduce disruption and guide the restoration plan.
Roof and Building-Envelope Leaks
Thermal imaging may also help investigate water entering through roofing, exterior walls or window systems. However, weather conditions, sunlight, insulation and indoor temperature can affect the thermal image.
For this reason, technicians should use thermal imaging as one part of a complete inspection rather than relying on the camera alone.
How Thermal Leak Detection Works and Its Limits
Step 1: Review the Water-Damage History
A proper inspection starts with basic information about the problem. The technician may ask when the damage first appeared, whether plumbing fixtures were recently used, whether severe weather occurred and whether the problem has happened before.
These details help separate a plumbing problem from condensation, roof intrusion, HVAC issues or another source.
Step 2: Inspect the Area Visually
Next, the technician checks the affected room and nearby spaces. Common signs include staining, swollen trim, warped flooring, damaged drywall, cracked grout, deteriorated caulking and musty odours.
Because water does not always travel in a straight line, the inspection may also include rooms above, below or beside the visible damage.
Step 3: Scan With Thermal Imaging
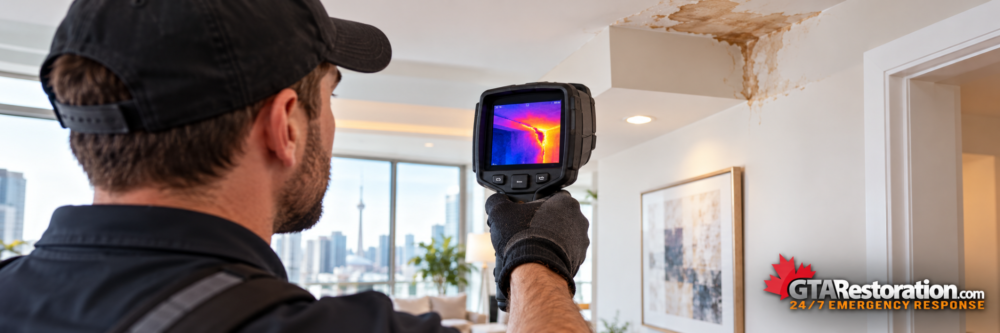
The technician then scans walls, ceilings, floors and other suspect surfaces. The camera may reveal an unusual warm or cool pattern that differs from surrounding materials.
For example, a cool irregular area below a bathroom may suggest moisture. Meanwhile, a warm line may follow a hot-water pipe. These patterns help guide the next step.
Step 4: Confirm With Moisture Testing
A thermal anomaly does not automatically prove that water is present. Therefore, the technician should check suspicious areas with a moisture meter or another suitable testing method.
This confirmation is important because insulation gaps, air movement, heating ducts, sunlight and plumbing lines can also create temperature differences.
Step 5: Investigate the Source
If testing supports an active plumbing leak, further investigation may follow. Depending on the situation, this may include fixture testing, plumbing isolation, pressure testing, acoustic leak detection or a small targeted opening.
The goal is to confirm the source before repairs begin rather than opening large areas based only on a thermal image.
Main Benefits of Thermal Leak Detection
One of the biggest benefits is reduced unnecessary demolition. Instead of opening an entire wall, technicians can focus testing on the areas most likely to contain moisture.
Thermal imaging can also help define how far water has travelled. As a result, restoration crews can make better decisions about drying equipment, material removal and repair planning.
In addition, photographs, thermal images, moisture readings and inspection notes can support clear project documentation. Insurance coverage still depends on the policy and cause of loss, but good records help document what technicians found and what work was required.
Limits of a Thermal Leak Detection Review
Thermal imaging has important limits. First, the camera needs enough temperature difference to create a useful pattern. If surface temperatures are almost identical, the results may be unclear.
Second, reflective surfaces such as metal, glass and glossy tile can produce misleading readings. Sunlight, radiant heating, air vents, appliances and recent hot-water use can also affect surface temperatures.
Therefore, a qualified technician should never assume that every cold or warm area is a leak. Instead, the technician should explain what the image suggests and what testing confirmed.
What Happens After a Leak Is Confirmed?
If technicians confirm an active leak, stopping the water source becomes the priority. A supply-line failure, overflowing fixture or damaged appliance connection may require immediate shutoff and plumbing repair.
If water has entered walls, floors or ceilings, the property may also need extraction and structural drying. Drywall, insulation, wood and flooring can retain moisture even after the surface appears dry.
For condo and commercial properties, notify the building manager or facilities contact as soon as possible. Shared plumbing and common building areas can make the source and affected area more complex.
Is Thermal Leak Detection Worth It?
A professional thermal leak detection review can make a hidden-water investigation faster and more focused. It can help locate suspicious areas, reduce unnecessary openings and guide moisture testing.
However, thermal imaging works best when technicians combine it with moisture meters, visual inspection and knowledge of the building. The camera should support the investigation rather than replace proper testing.
Ultimately, a clear answer can prevent a small hidden leak from becoming a larger restoration project. If you notice staining, unexplained dampness, musty odours or recurring moisture, investigate the source before the damage spreads.
Suspect a Hidden Water Leak?
GTA Restoration provides thermal imaging, moisture testing, leak detection and water damage restoration throughout Toronto and the GTA.
Water stain, unexplained moisture or recurring leak? Find the source before hidden water causes more damage.
Call Us: 416-800-0000
Learn More
Water Leak Detection | Leak Detection Services That Stop Damage Fast | Water Leak Detection GTA | Leak Detection | Thermal Imaging Camera